Product Profile
Once sign-up is complete, you'll land on the Claim Your Product page, where you can search for your software using the search bar. If your product already appears in the results, you can claim it right away. If it doesn’t appear, you can add it as a new product.
Claim a Product
- Enter your software name in the Claim Your Product search bar to find your product from the already listed options.
- Once your product appears, click the Claim Product button to begin the claim process. If no matching listing appears, follow the steps in the Add a Product section.
- After clicking the Claim Product button, you’ll be redirected to a confirmation page.
- A dialog box will appear with the option to proceed. If you're ready to claim the software, click Send Request.
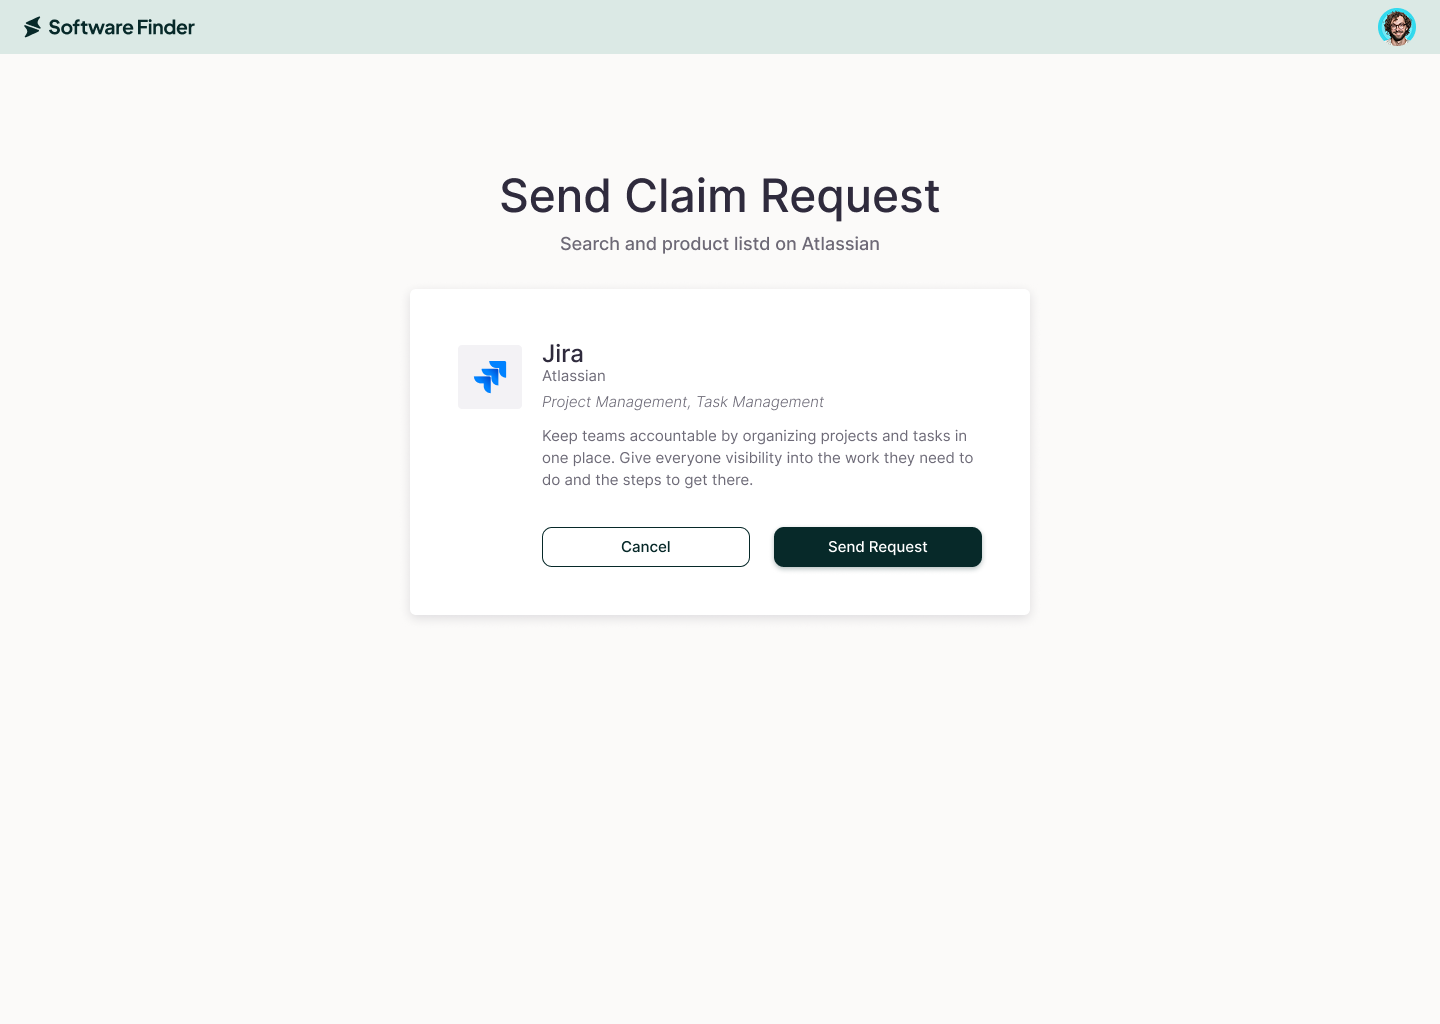
- After clicking the button, you’ll be directed to the Verify Company Details section.
- The company verification pages will open with some pre-populated fields. Review the information carefully, make edits if necessary, and fill in any missing details. Once completed, you’ll be redirected to your dashboard.
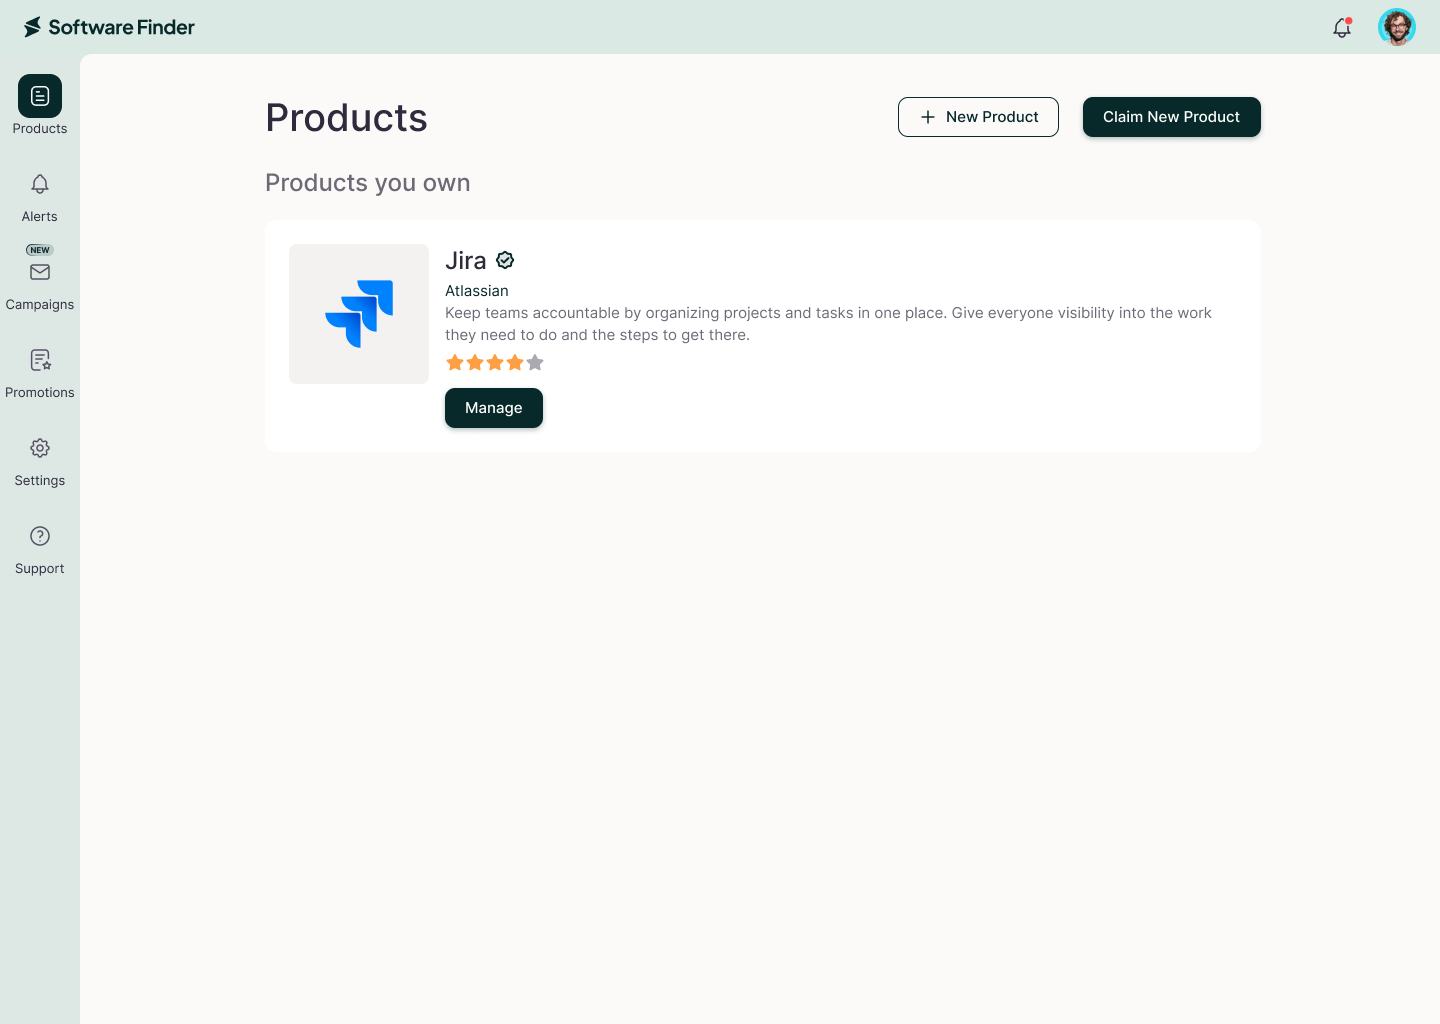
- Your product will appear in the Product section of your portal, but you’ll gain management access once the request is approved.
The approval process usually takes up to 3-5 business days.
- Once approved, you’ll receive a confirmation email, and the Manage button will appear, giving you access to your product.
Add a Product
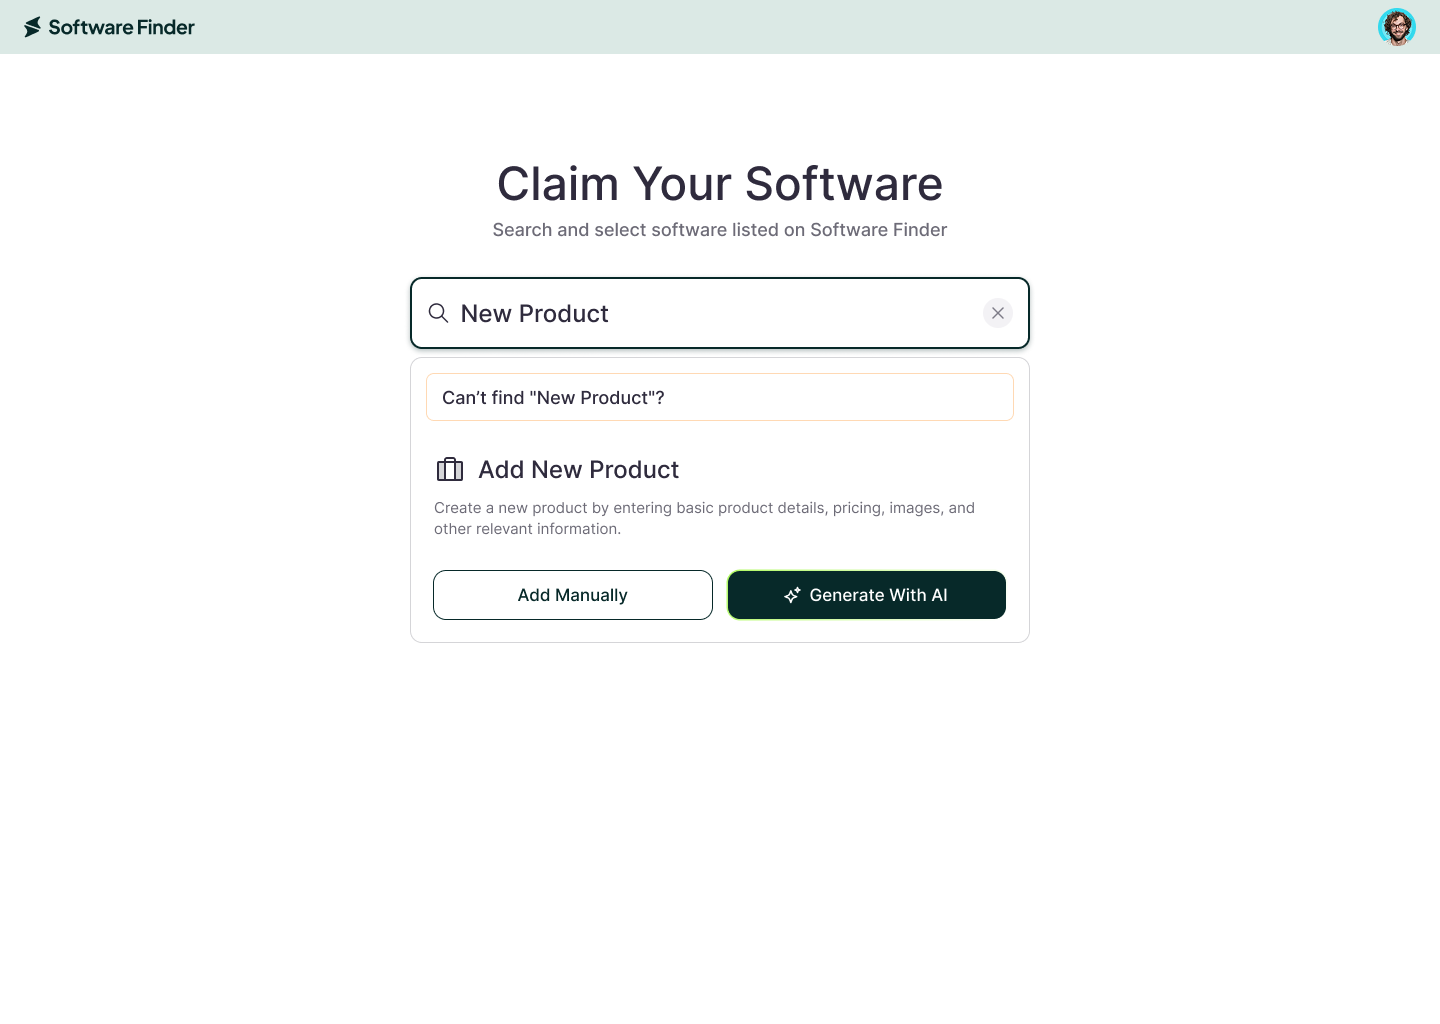
For no matching listing, click + New Product or Generate with AI at the bottom of the search dropdown
Before you begin your product submission, make sure your software meets our eligibility criteria. The following types are not eligible for listing on Software Finder:
- Business-to-consumer (B2C) software
- Software in the Alpha or Beta stages of development
Ensure your product fits these guidelines before moving on.
Two ways to add your product:
Add Manually — enter all product details yourself, step by step.
Generate With AI — provide a few key details and let AI draft your full profile automatically.
Option A: Add Manually
- You’ll first be directed to the Verify Company Details section. Review the pre-filled fields, update as needed, and complete any missing information.
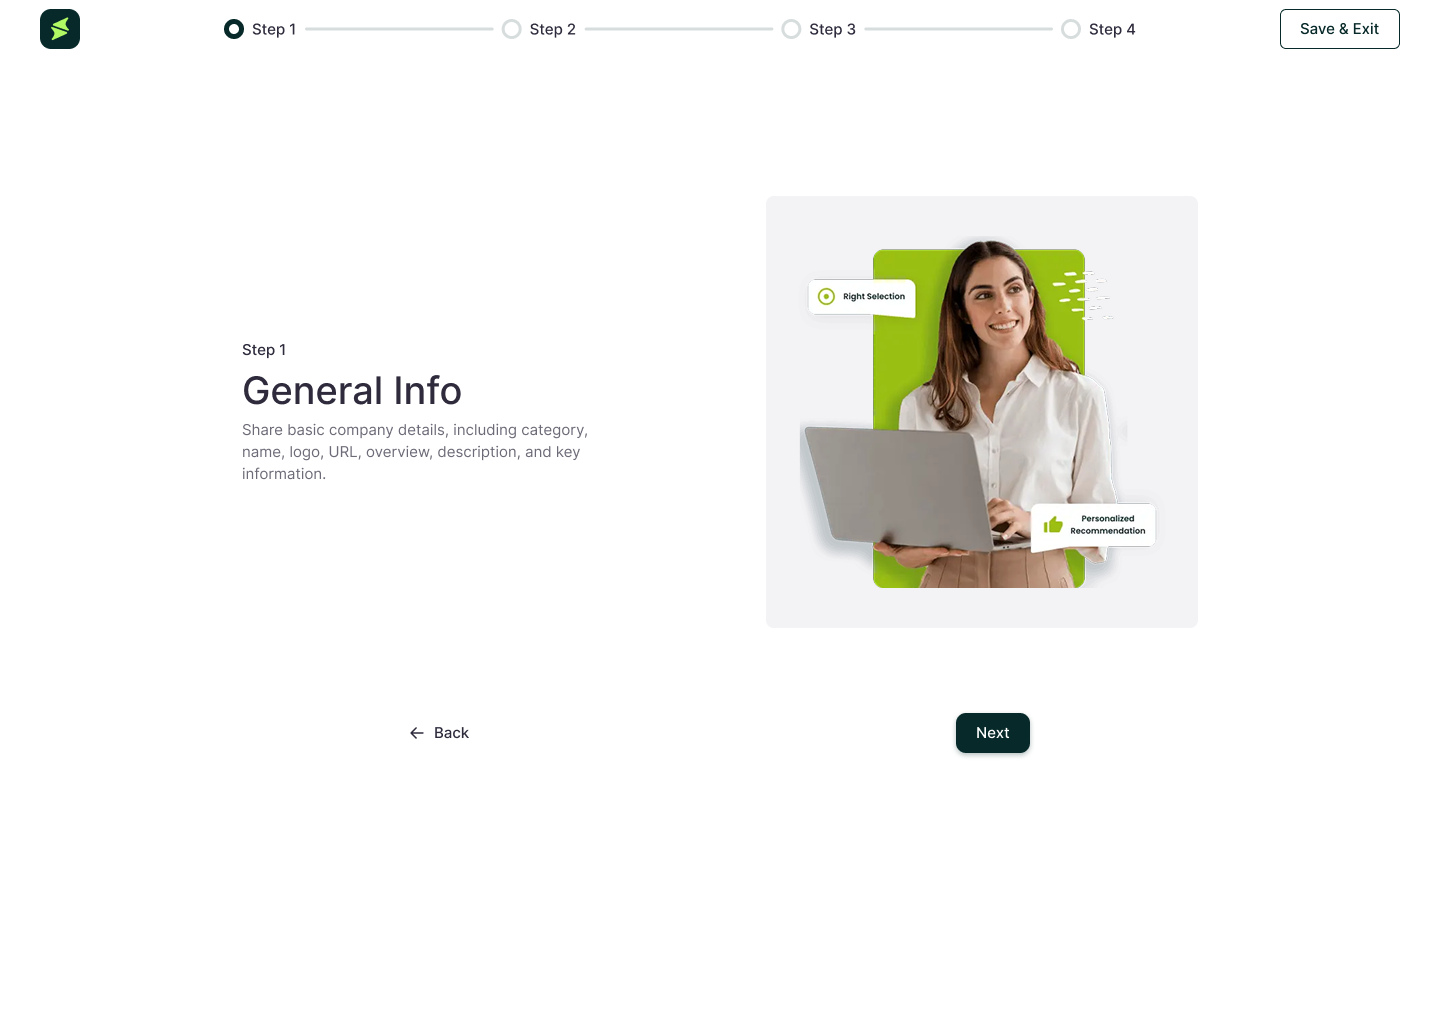
- Once company details are verified, proceed to the Add Product setup. This takes you to the Step 1: General Info of creating product profile manually.
Step 1: General Info
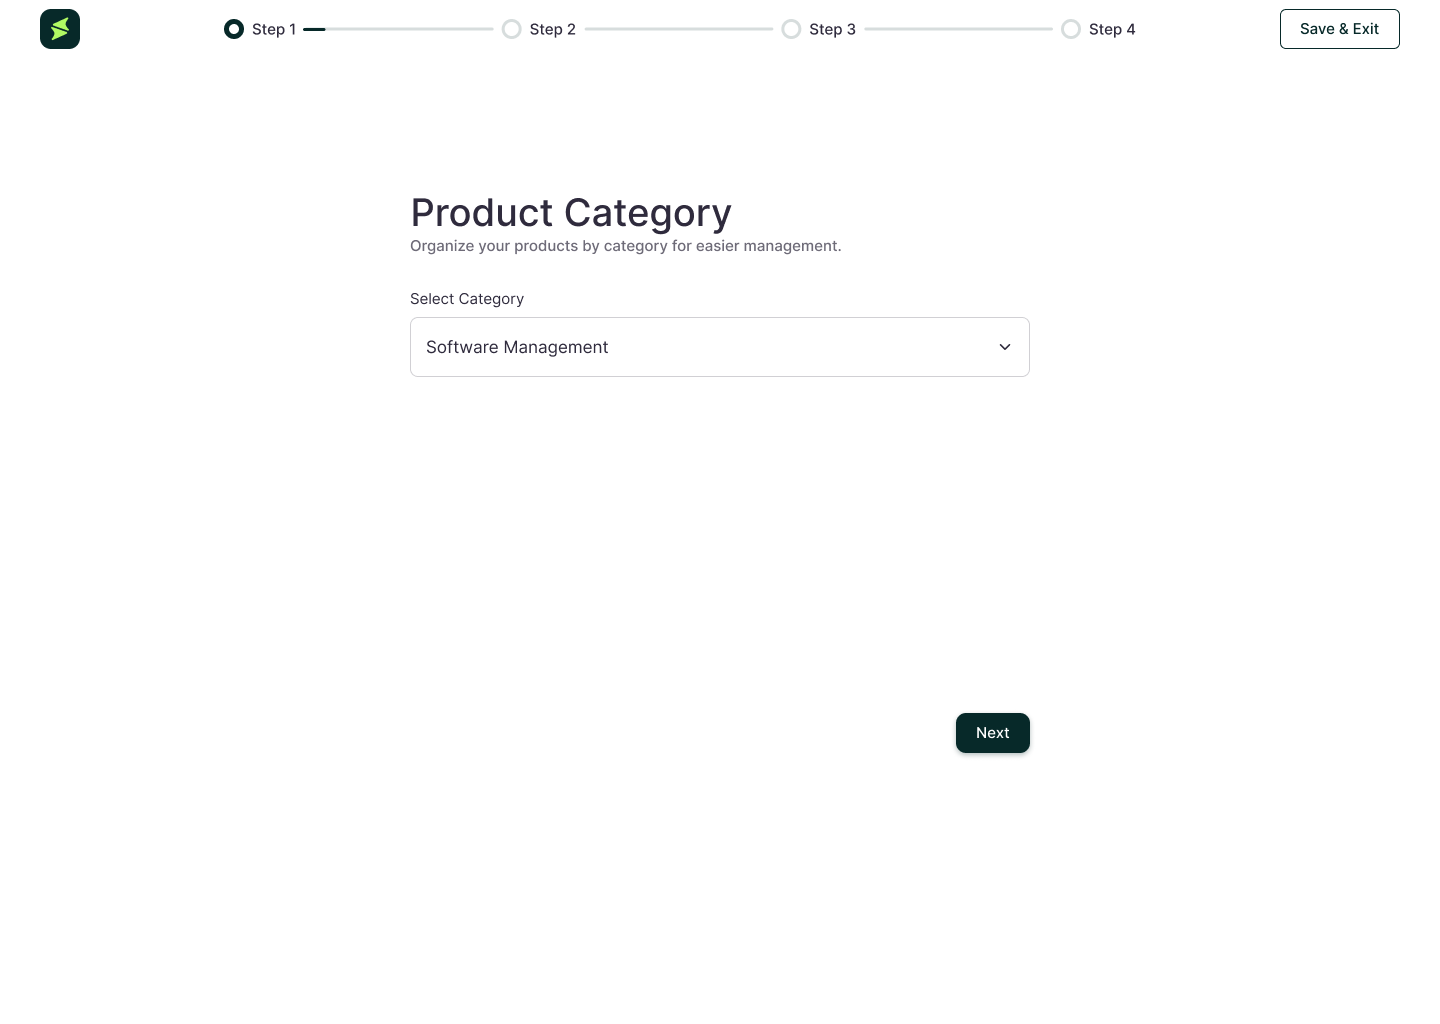
- Select the appropriate Product Category from the provided list.
- Next, enter your Product Name and upload a Product Logo (drag-and-drop supported) and click Next to proceed.
- Adjust the Product Logo using the zoom bar (+ / –) for the best fit.
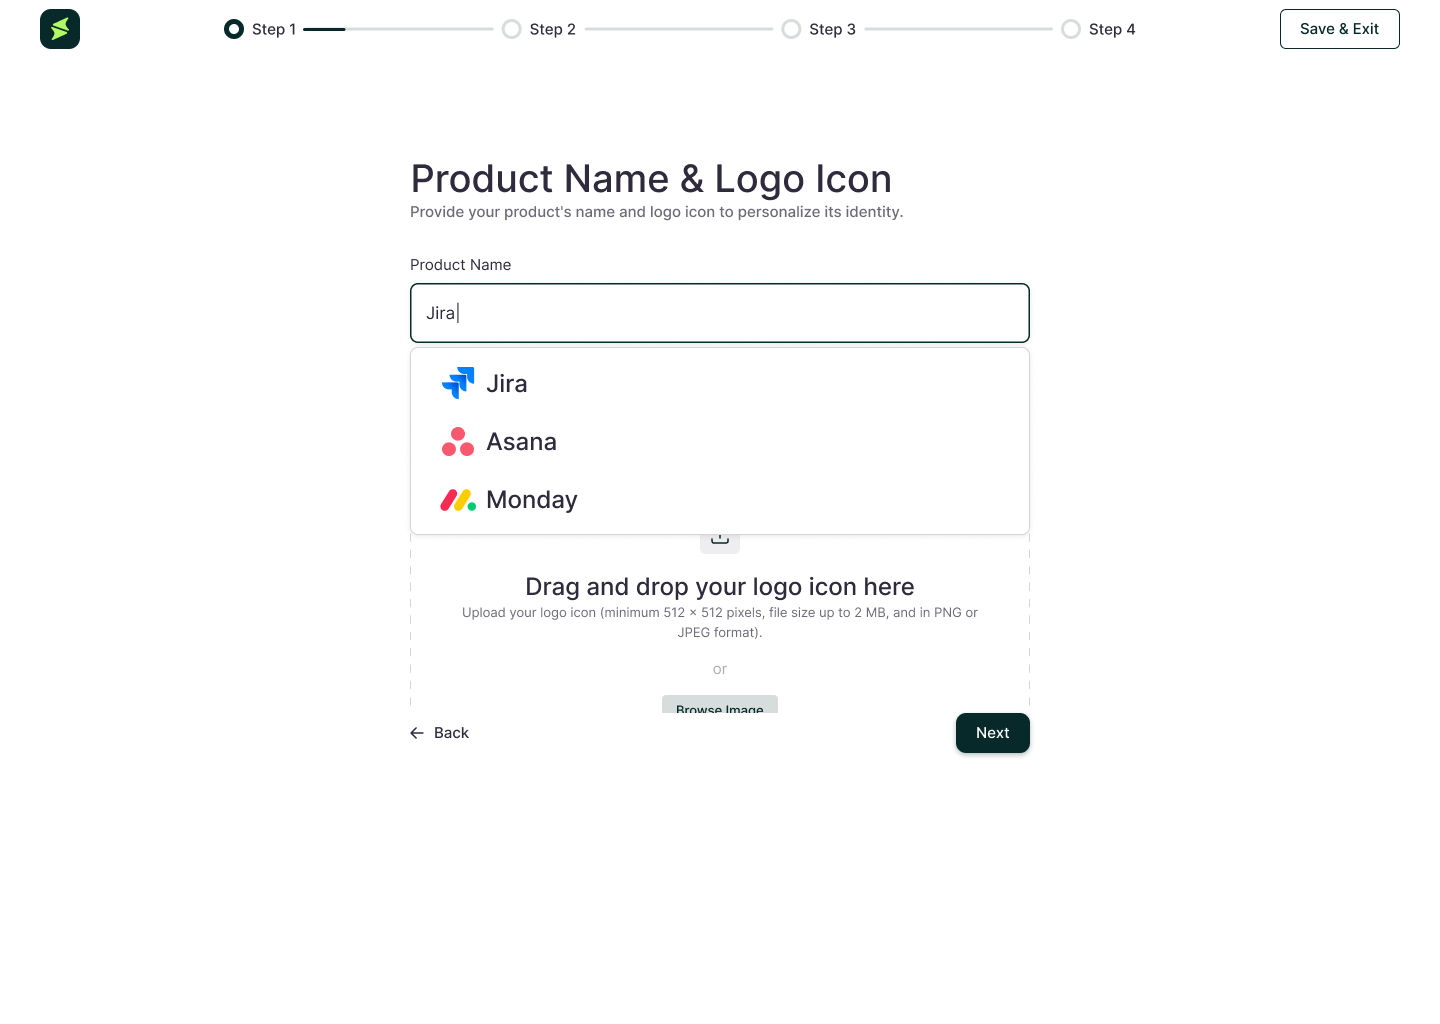
- Use the Save & Exit button (top right) to save progress and resume later.
- Provide your unique Product URL to guide users to your product site.
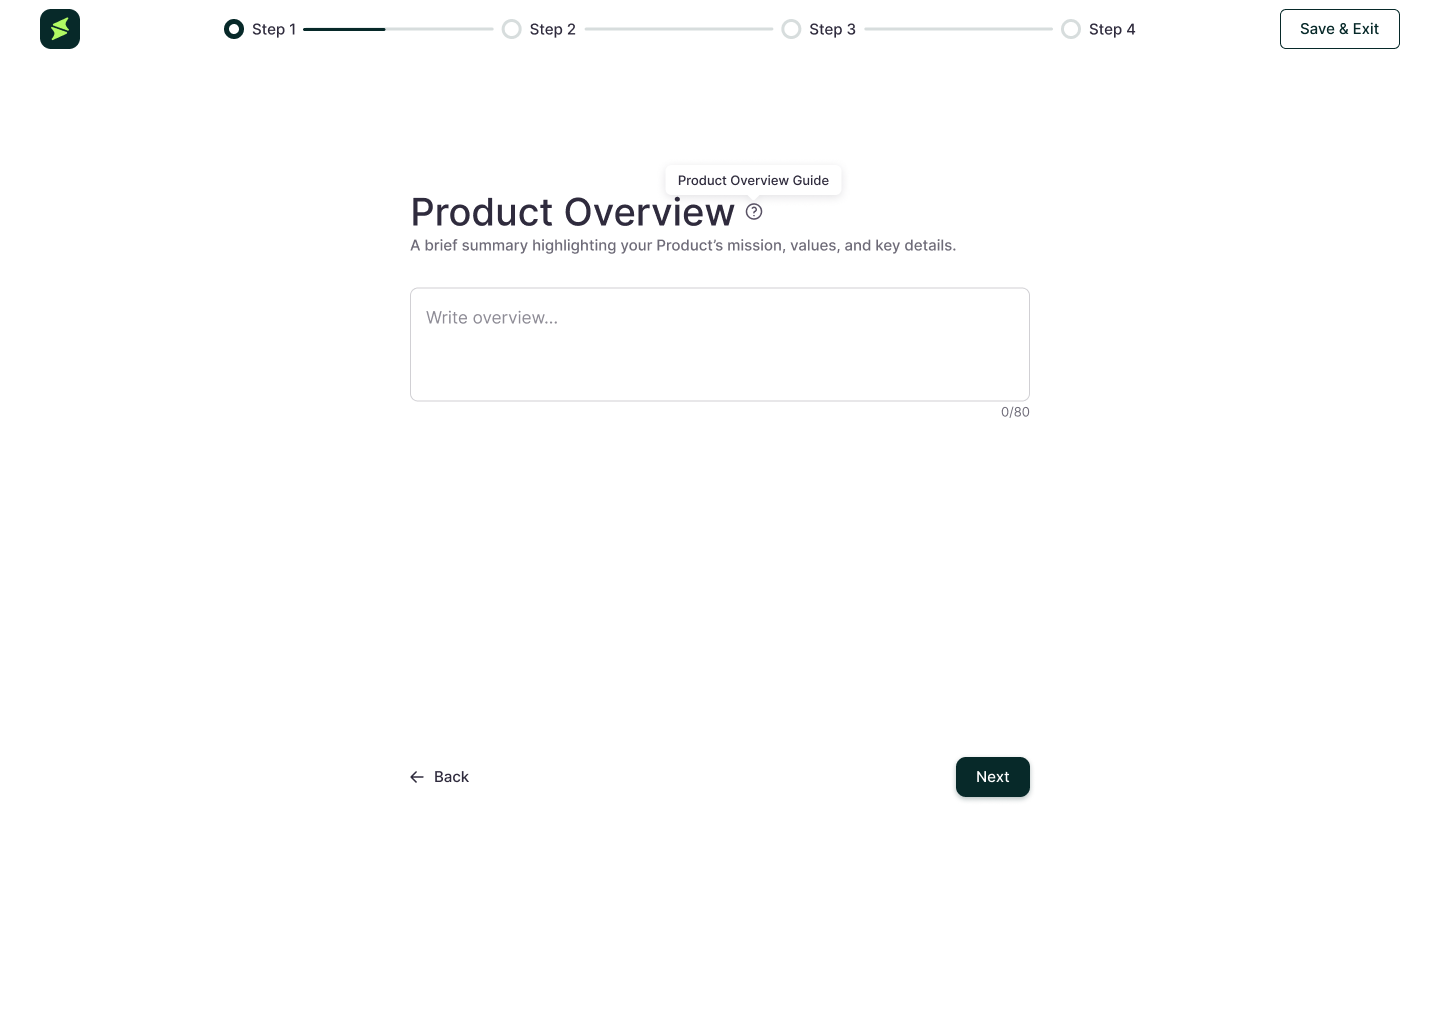
- Add a brief Product Overview to describe your software’s purpose.
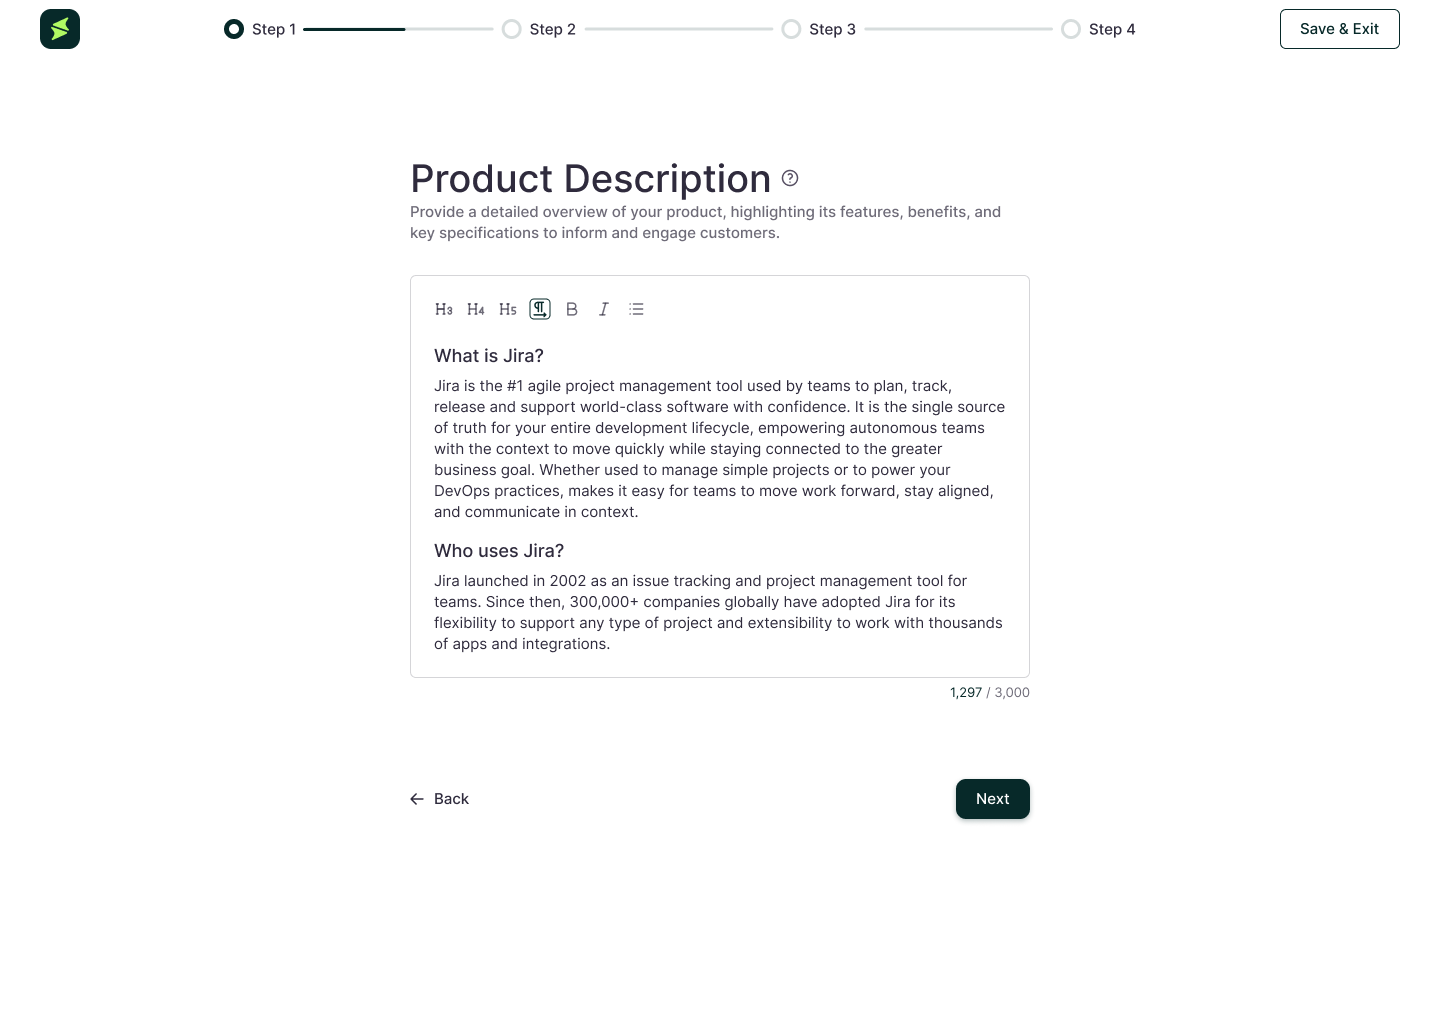
- Include a detailed Product Description that highlights features, value, and target users.
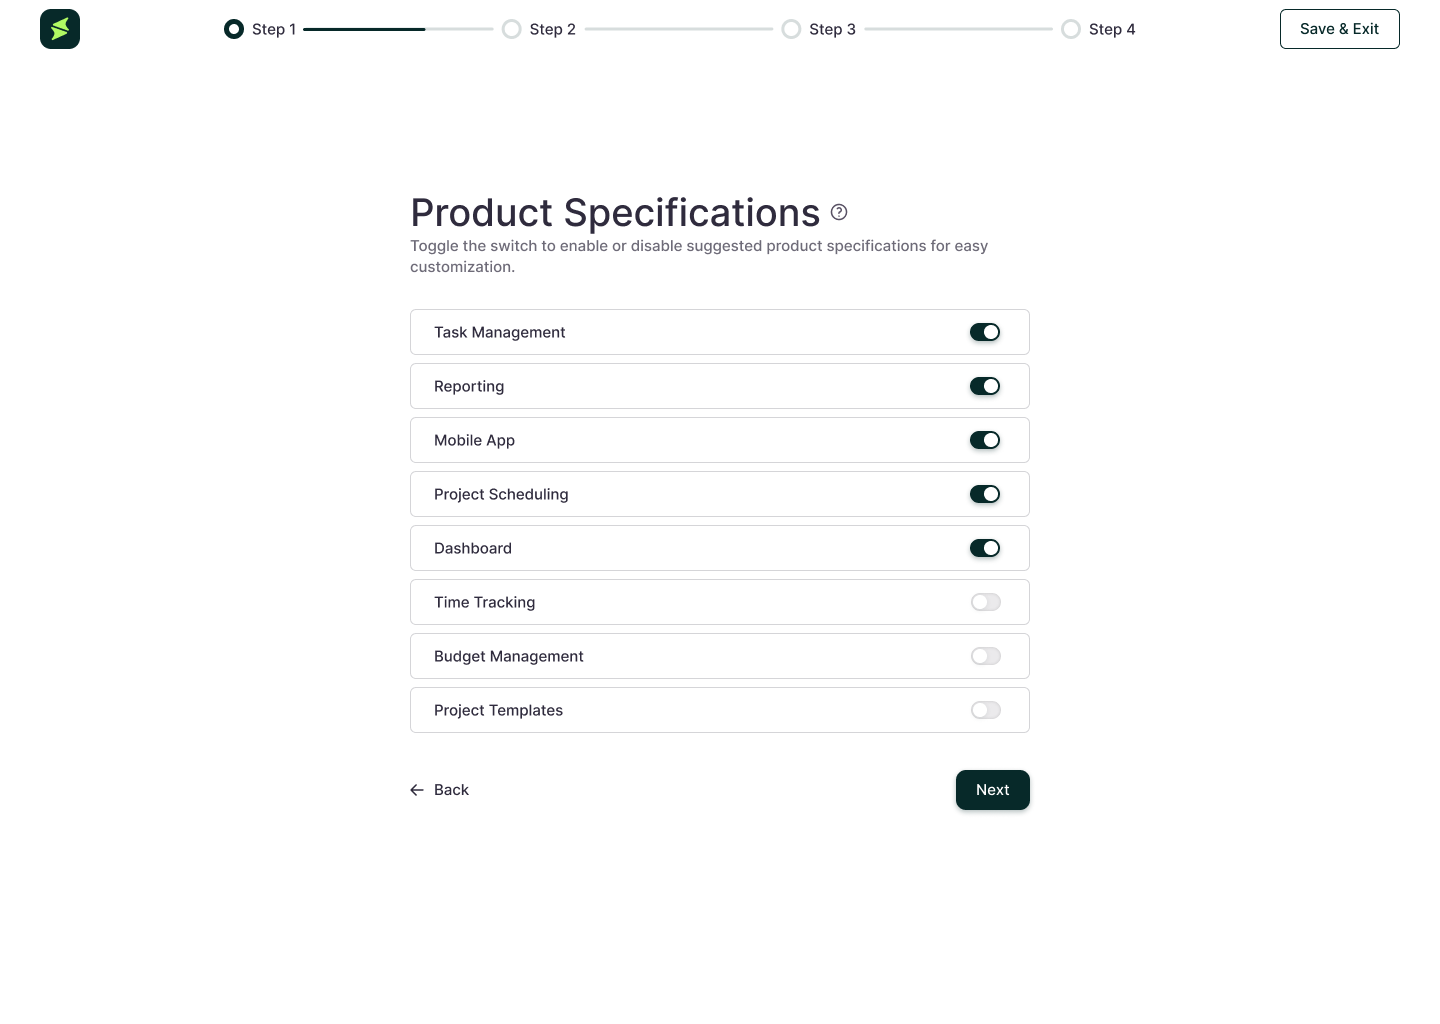
- Toggle on relevant Product Specifications that apply to your software.
- To finish, use keywords from the provided list in the Tags/Sub Categories section to improve discoverability on the platform.
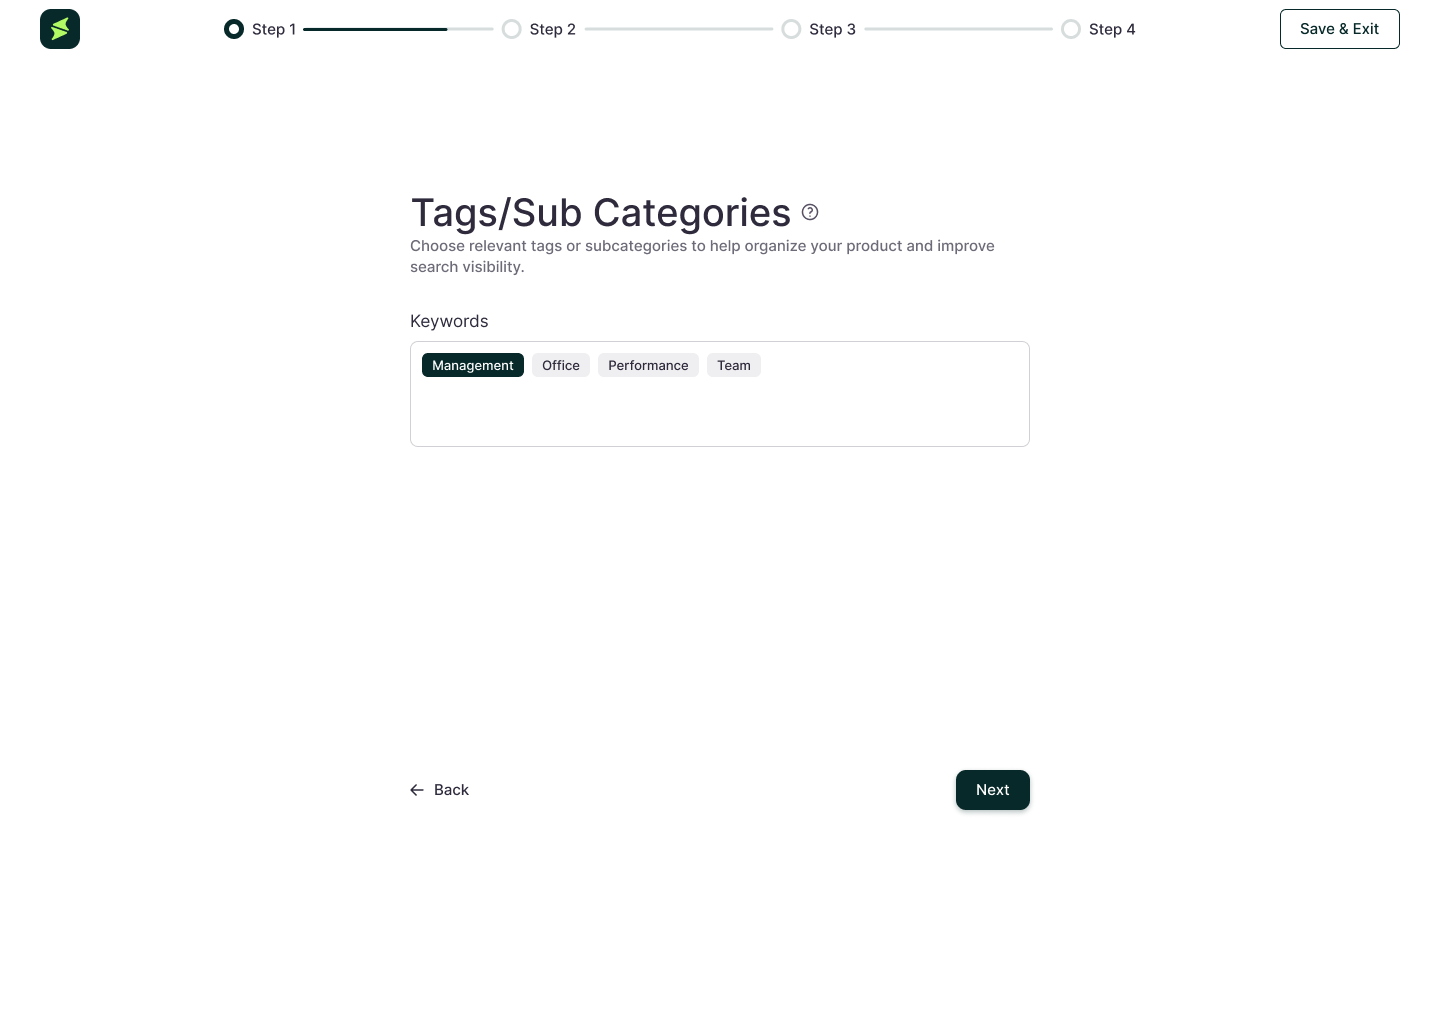
- Click Next to proceed and move to Step 2: Media & SEO.
Step 2: Media & SEO
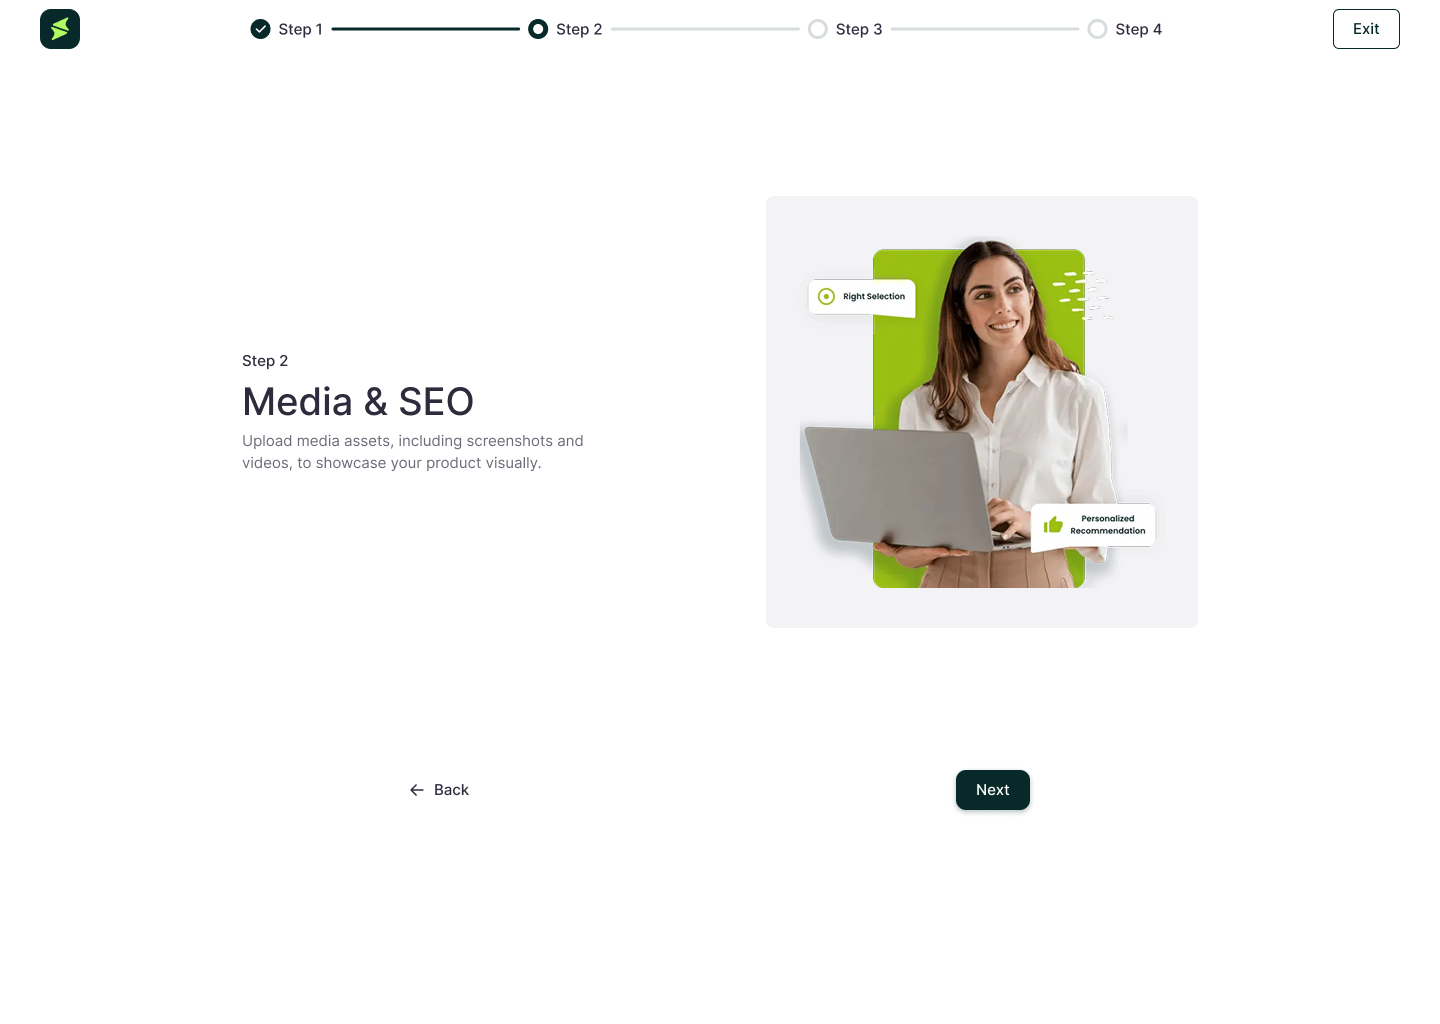
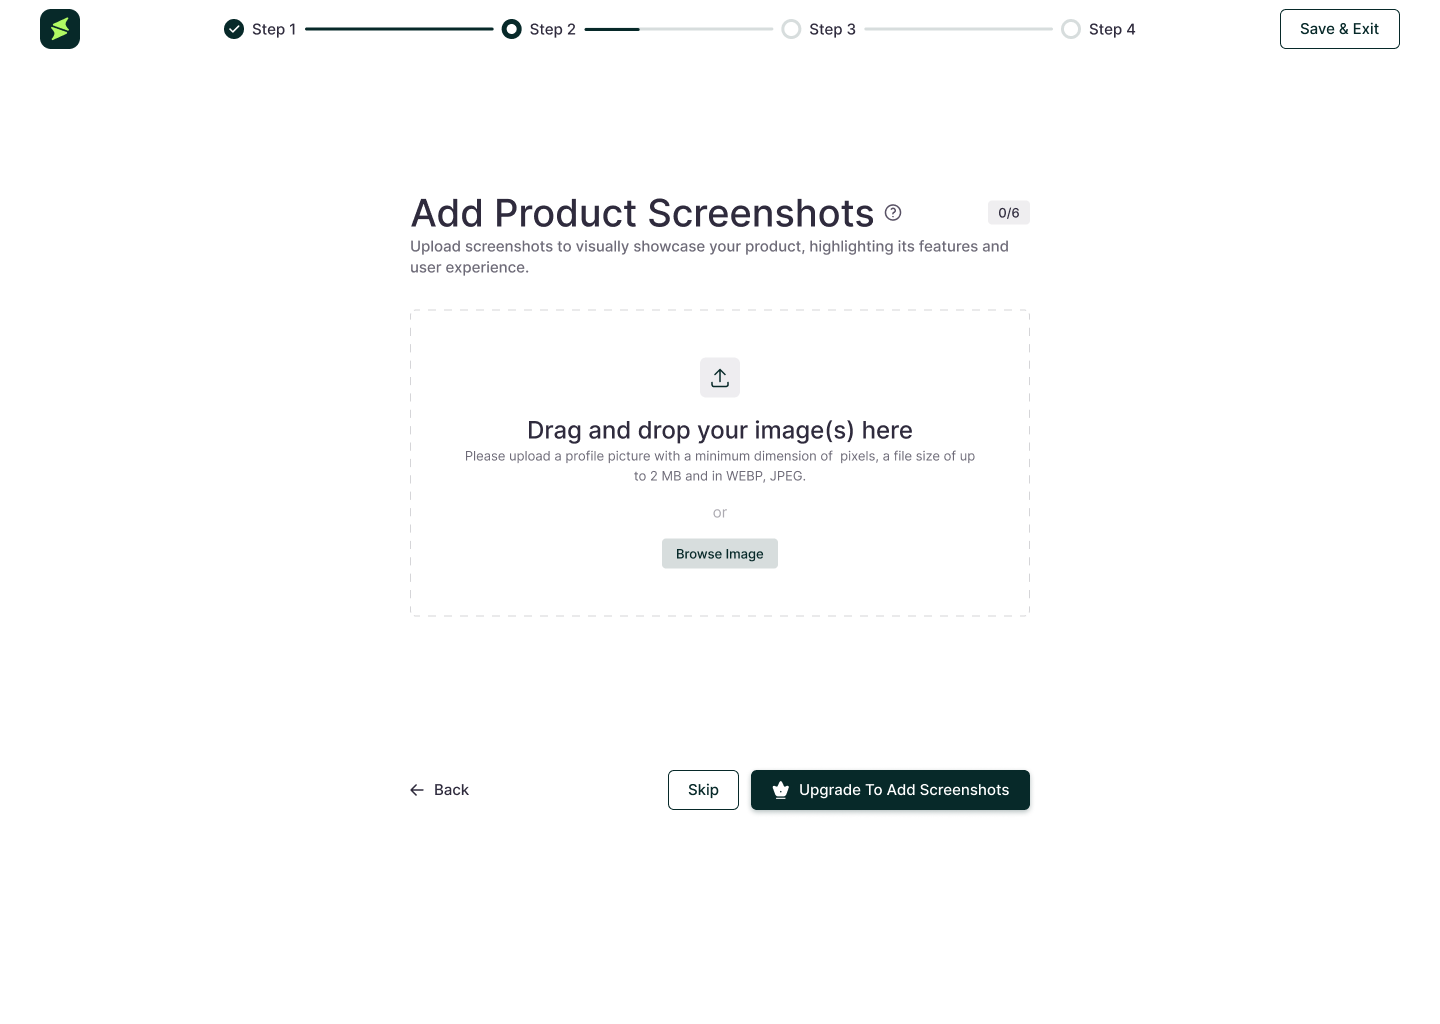
- Upload Product Screenshots using drag-and-drop or the Browse Image button. (Premium)
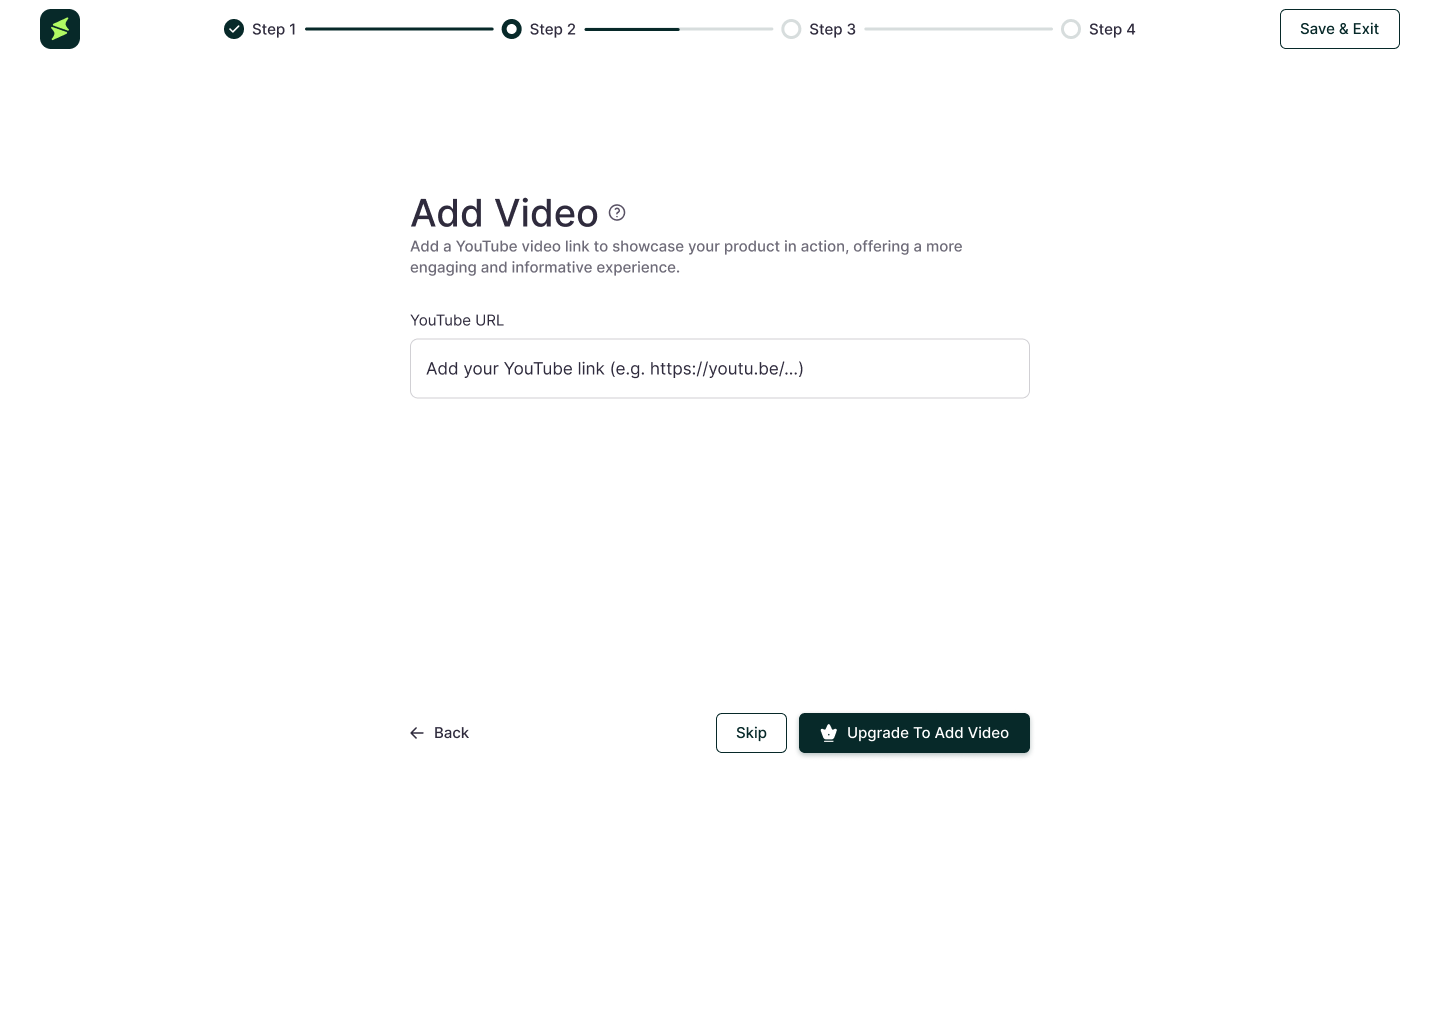
- Add Video by entering the YouTube video URL into the YouTube field. (Premium)
- Enter a Meta Title and Meta Description to optimize your product for search engines.
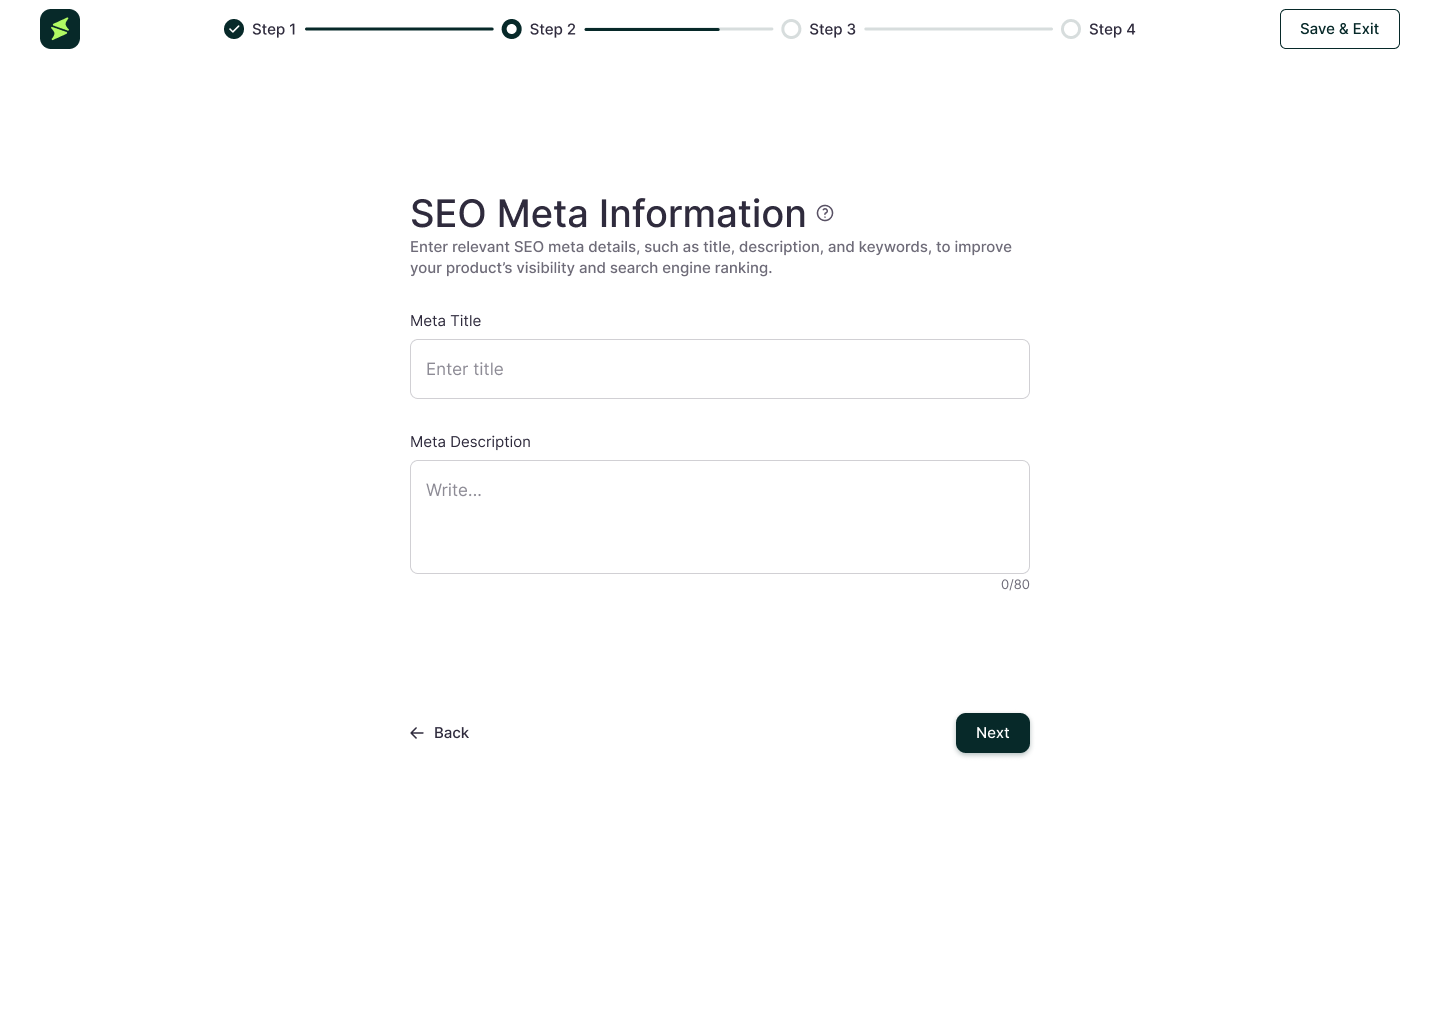
- Click Next to proceed and move to Step 3: Features and Pricing.
Step 3: Features and Pricing
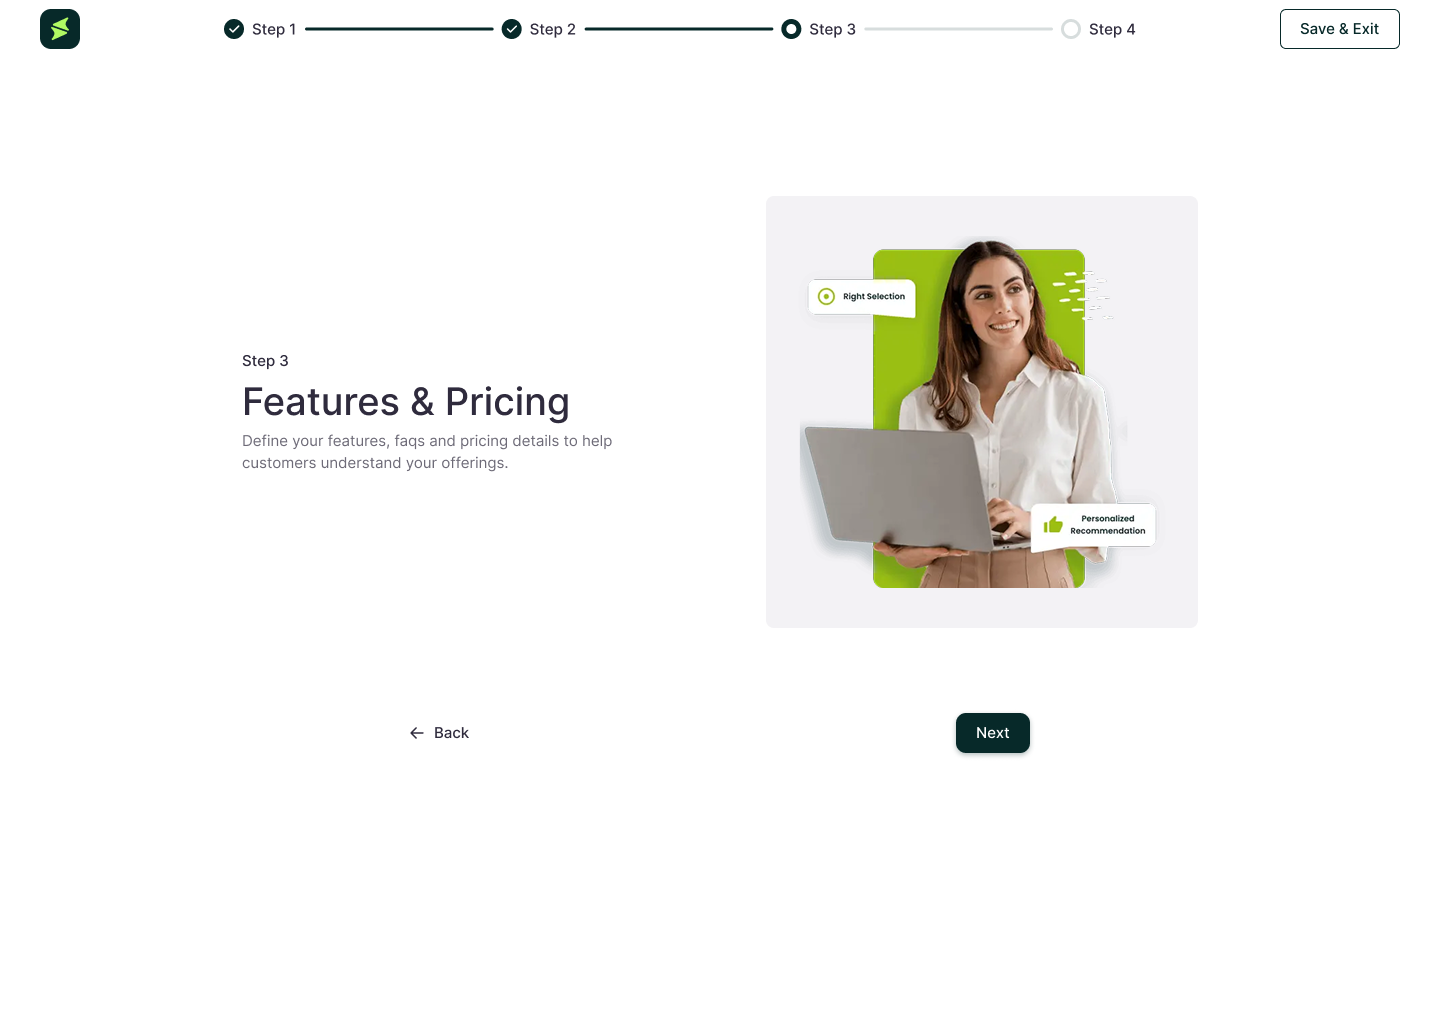
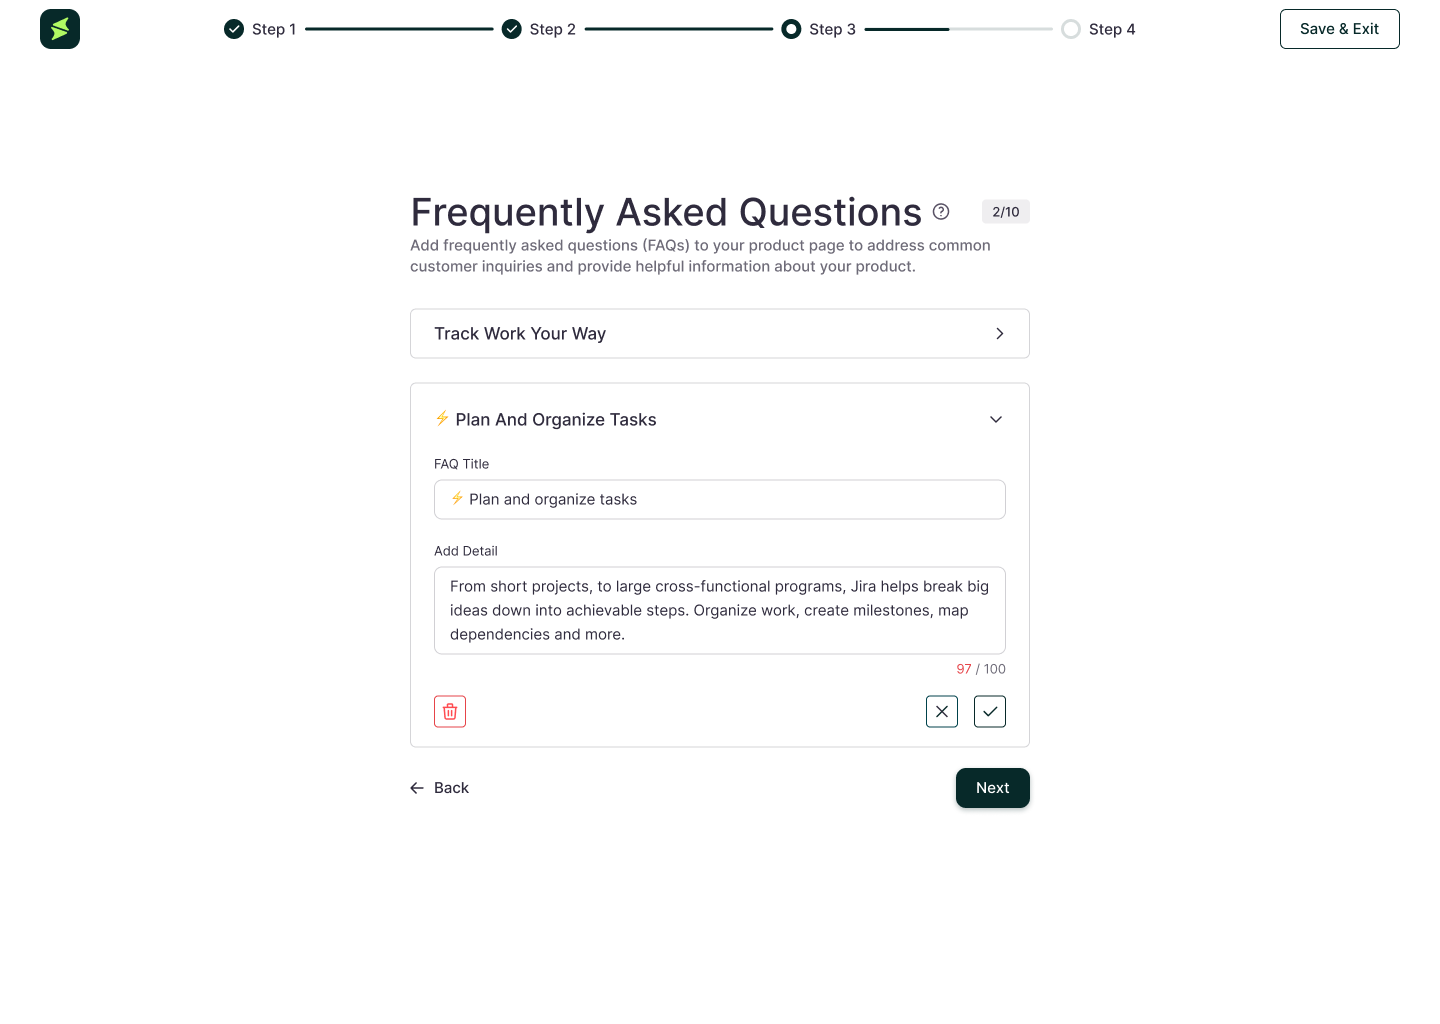
- Enter Feature Title and detail, then click the ✓ icon to save.
- To add more features, click + Add New Feature.
- Next, in the Frequently Asked Questions section, enter a Question and Answer.
- In the Pricing Setup, fill in the information like Pricing Plan Title, Plan Subtitle (optional), Monthly Price, Price Unit, and What's Included (list the features included in the plan), and click Next to proceed. (Premium)
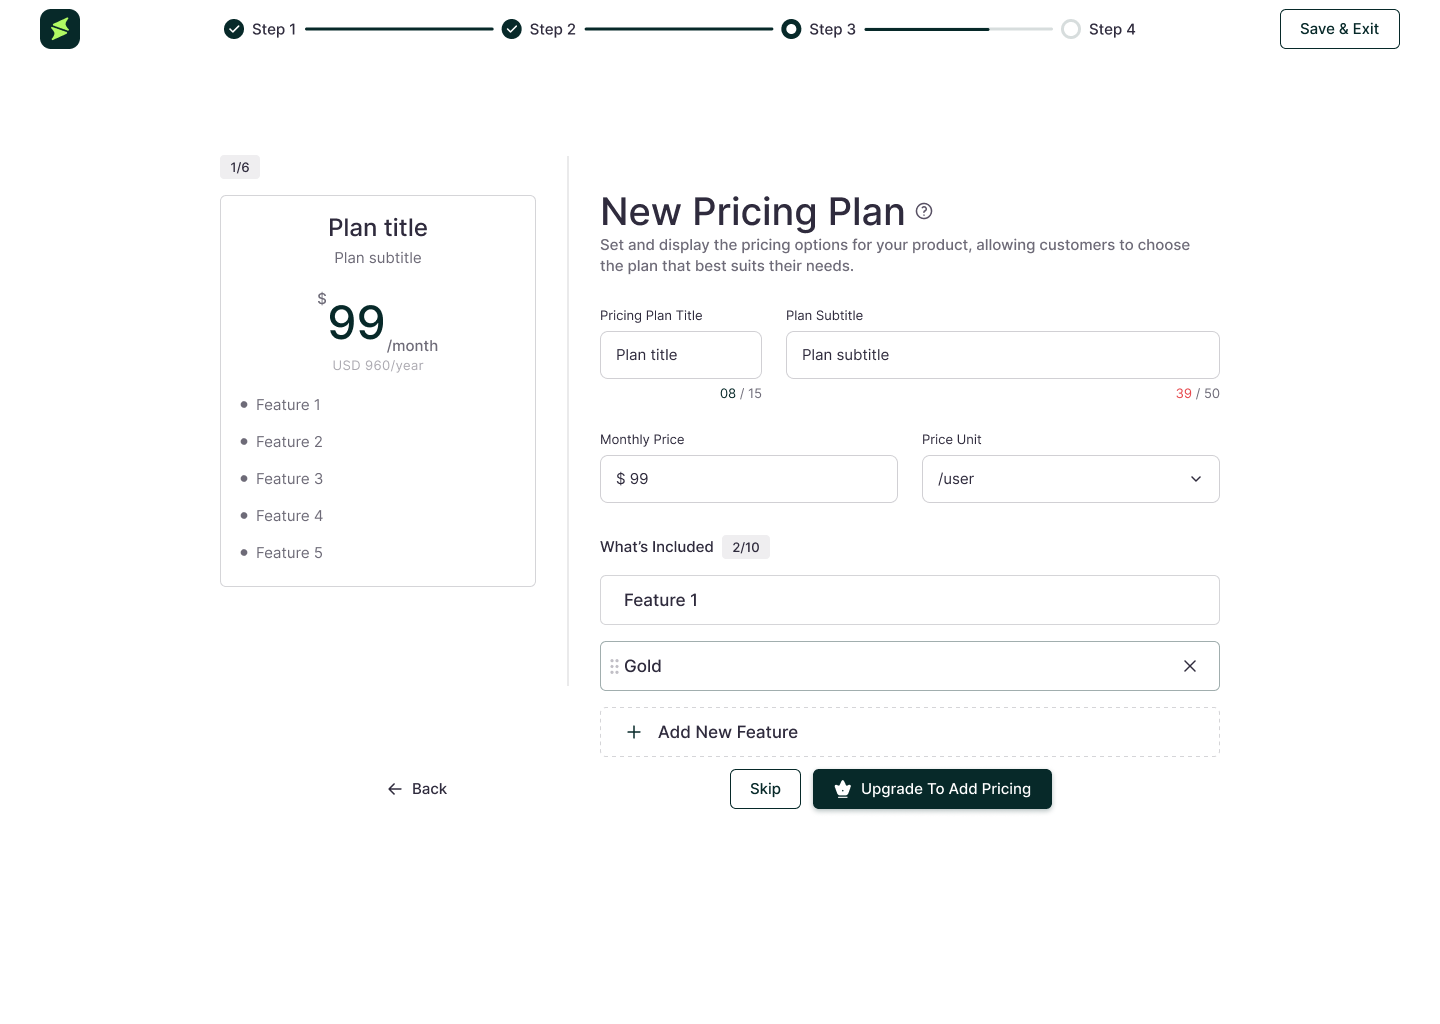
- Add another pricing plan if you'd like to include additional pricing plans or click Add Product to move forward.
- Provide three customer emails for review requests, then click Submit to complete the submission.
After the review is complete and approved, the Manage button will appear, allowing you to update and manage your product listing.
Want to make your product really stand out? With a Premium upgrade, you’ll unlock features like screenshots, videos, and FAQs to showcase your product in the best possible light.
Option B: Generate With AI
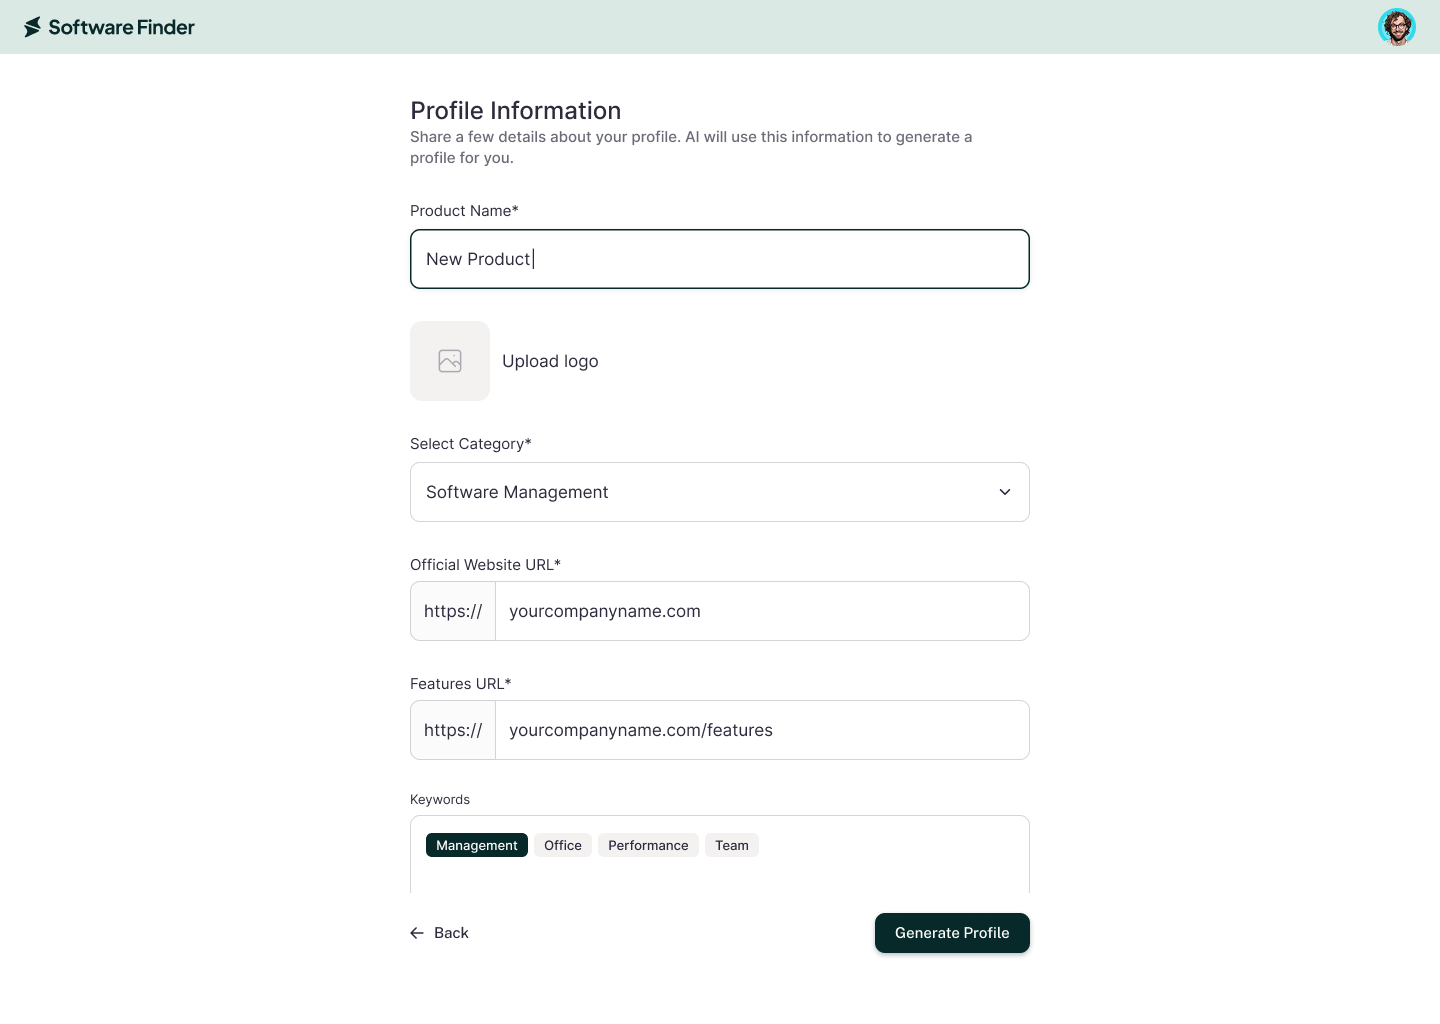
Click Generate With AI to open the Profile Information form if you want to create your profile using AI.
Provide the following details:
- Product Name*
- Product Logo (gets pre-populated if image is found otherwise can be uploaded manually)
- Category*
- Official Website URL*
- Features URL
- Keywords
Once you’ve filled in the required fields, click Generate Profile.
Wait for Your Profile to Generate
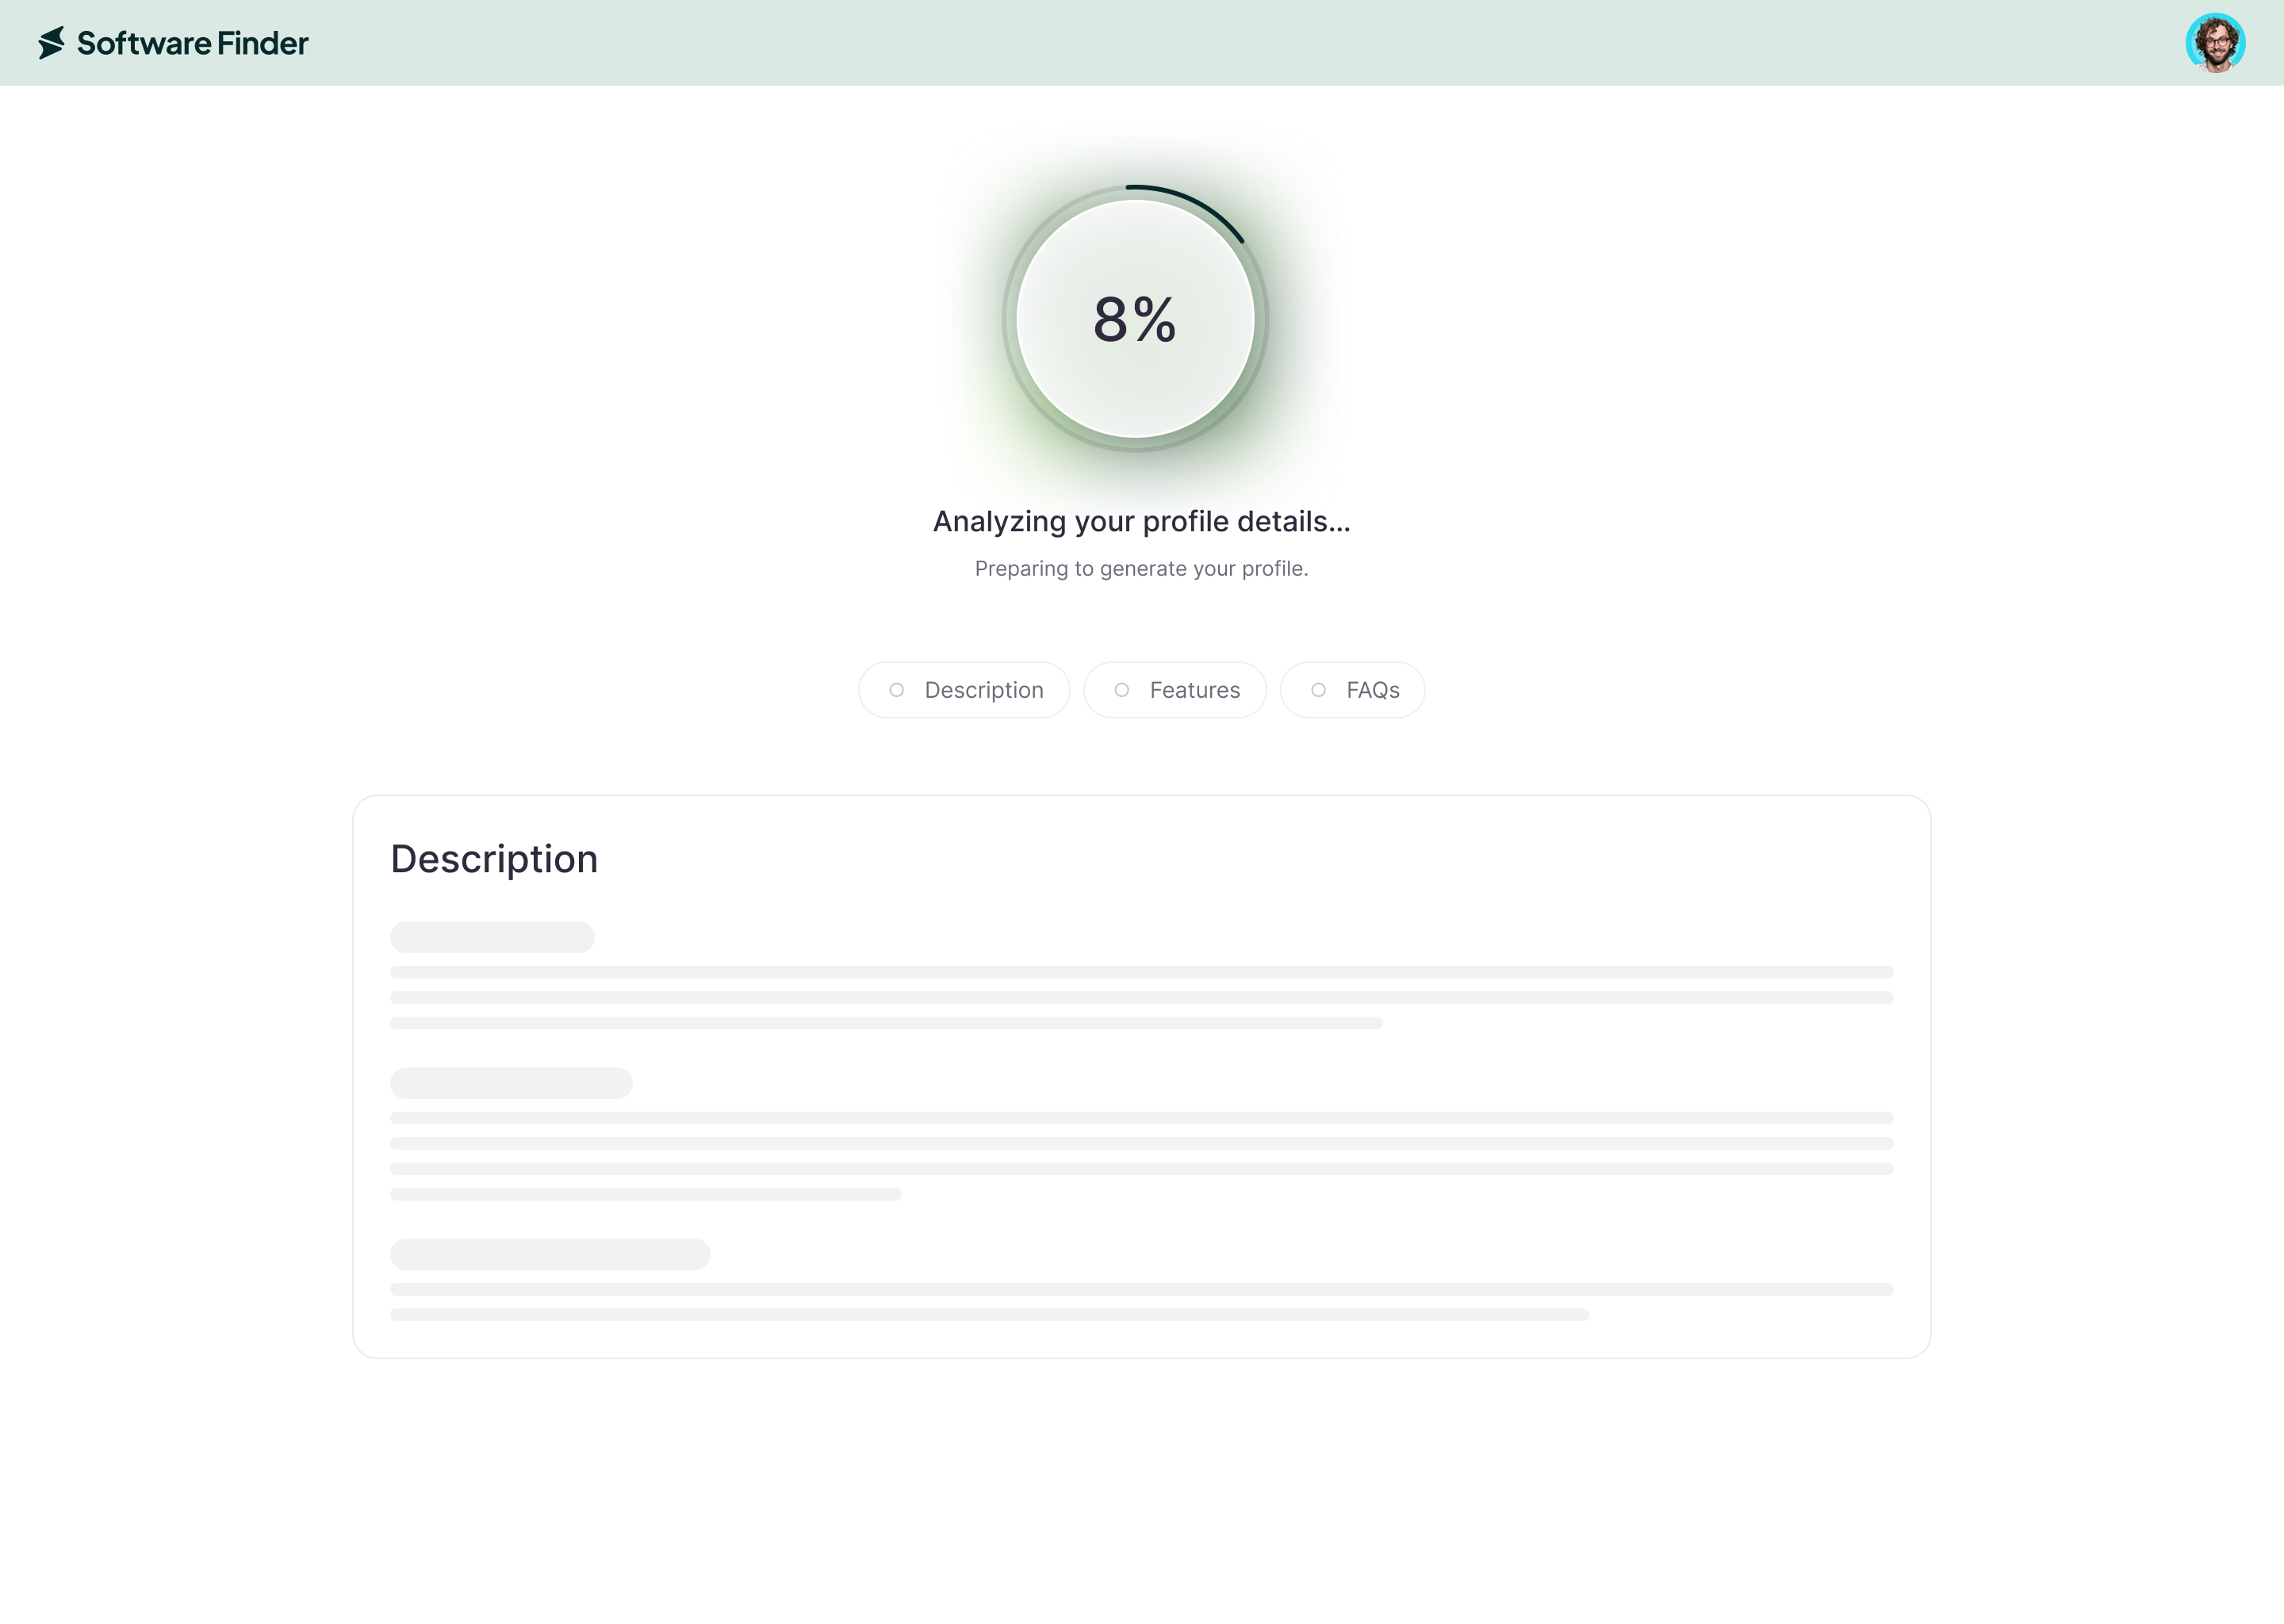
The AI will begin generating your profile. A progress indicator will show each stage as it’s completed, including Description, Features, and FAQs.
Profile generation typically takes around 90 seconds. You can watch the content appear in real time as each section is drafted.
Review the Generated Profile
Once generation is complete, your full profile will be displayed for review. It includes:
- Description — What the profile is, who uses it, and key information buyers need to know
- Features — A structured list of your product’s key capabilities
- FAQs — Commonly asked questions with AI-drafted answers
Each section includes an Edit button so you can refine any part of the content before submitting.
Submit or Save for Later
When you’re satisfied with your profile, you can choose how you want to proceed:
- Submit Profile
- Submits your profile for review and listing on Software Finder Website.
- Save & Exit
- Saves your progress so you can return and make further edits before submitting.
FAQs
Who is eligible to list a product on Software Finder?
Only B2B software products that are past the Alpha or Beta development stage are eligible. B2C software or early-stage prototypes are not currently supported.
Why should I list my product on Software Finder?
Listing increases visibility, enhances credibility, and allows potential buyers to discover your product. Optimized listings also help improve traffic and conversion rates.
Can I save my listing progress and return later?
Yes. Use the Save & Exit button at the top-right corner to save your work and resume later without losing any data. This applies to both manual and AI-generated profiles.
How do I claim my software product?
Search for your software using the Claim Your Product search bar and click Claim Product to submit your claim request.
How long does it take for my claim request to be approved?
Approval typically takes up to 3–5 business days. You’ll be notified via email once approved.
What happens after my claim request is approved?
You’ll receive an email confirmation, and the Manage button will appear, allowing you to manage your product.
What if I don’t have a company logo yet?
You can still proceed without uploading a logo. However, we recommend adding one later for better visibility and brand consistency.
Can I edit an AI-generated profile after it is submitted?
Yes. You can edit any section of your profile at any time from your vendor portal. Use the Edit button next to each section to update the content.